Why Create a travel scrapbook?
A travel scrapbook is a wonderful way to preserve your precious memories. Unlike a simple photo album, it tells a complete story of your adventures. Therefore, learning how to create one is a skill every traveler should have. This guide will walk you through everything you need to know.
Your travels are full of unique moments. For instance, you might have tickets, maps, and postcards. A travel scrapbook lets you combine these items with your photos. As a result, you create a rich, multi-dimensional story.
Furthermore, the creative process is incredibly rewarding. You get to relive your favorite moments while designing each page. It becomes a personal piece of art that you can share with friends and family for years to come.
Essential Supplies for Your Travel Scrapbook Project
Before you begin, gathering the right supplies is essential. Consequently, this will make the process smoother and more enjoyable. Here is a basic list to get you started:
- A sturdy scrapbook album: Choose a size and style that you love. We’ll discuss this more later.
- Acid-free paper and cardstock: This is important to protect your photos over time.
- Photos from your trip: Select a variety of your best shots.
- Adhesives: Use photo-safe glue sticks, double-sided tape, or photo corners.
- Scissors or a paper trimmer: For clean, precise cuts.
- Pens and markers: For journaling and adding notes.
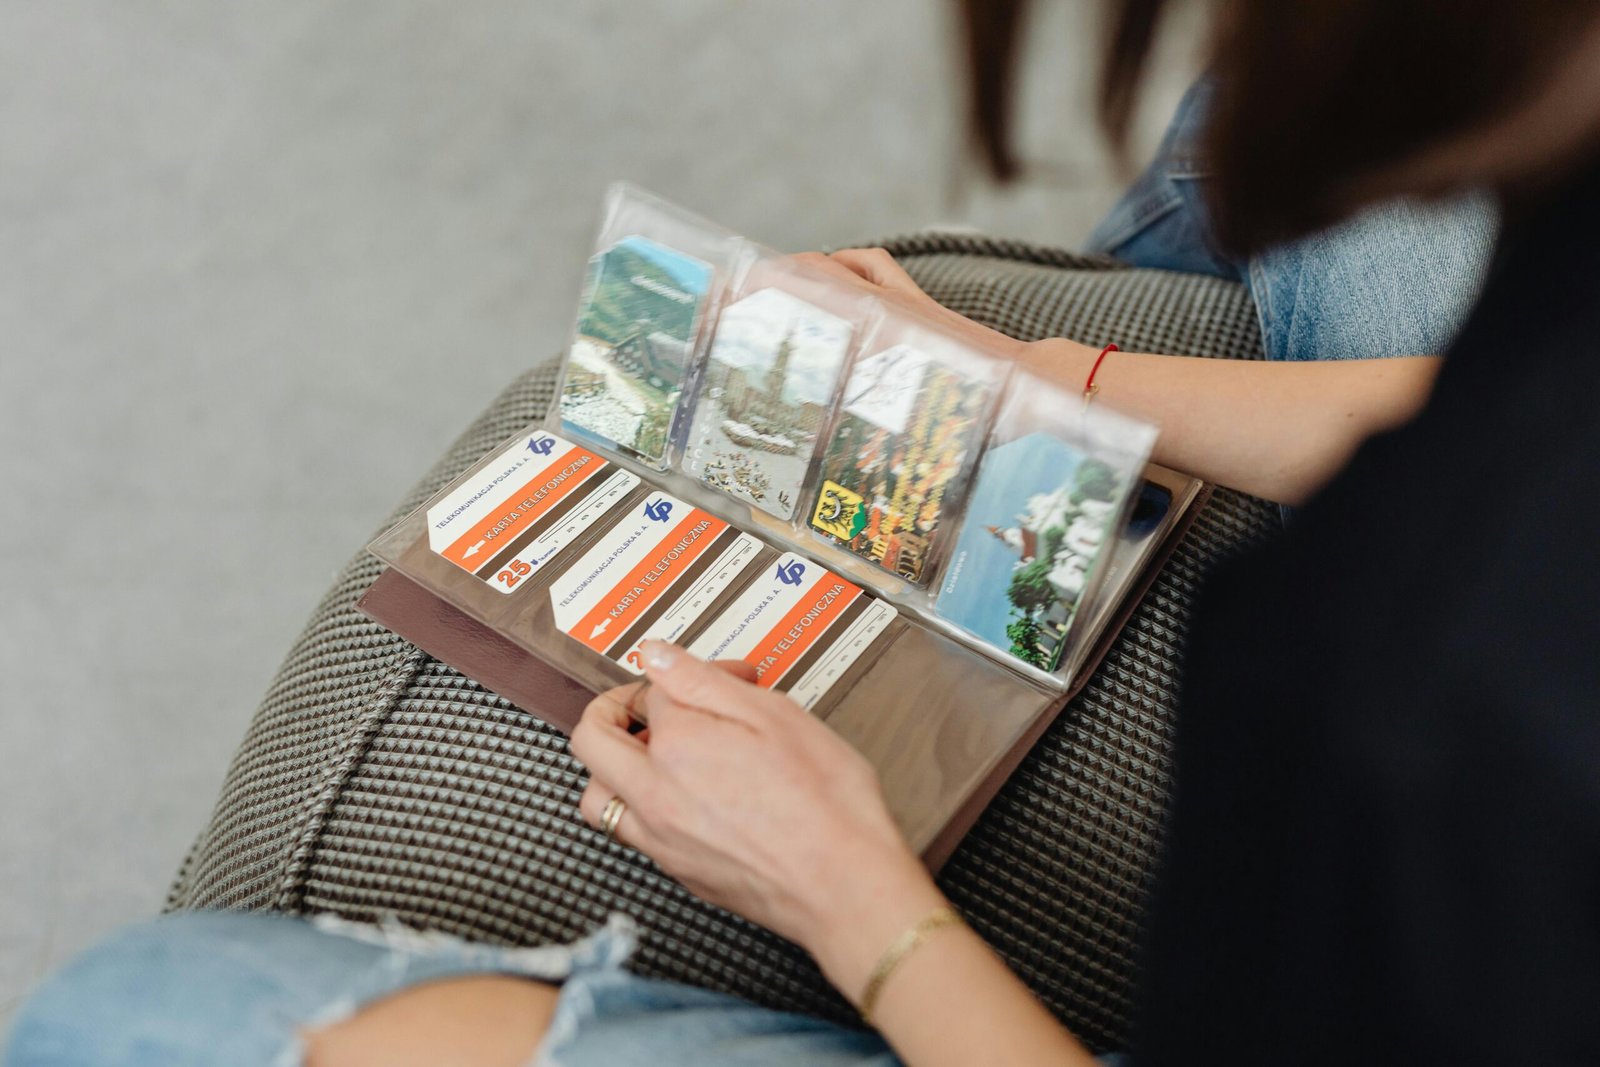
- Your travel mementos: Tickets, maps, brochures, postcards, and anything else you collected.
Step-by-Step: Building Your Masterpiece
Now for the fun part! Creating your scrapbook is a journey in itself. Simply follow these steps to build your beautiful book of memories.
Step 1: Gather Your Mementos
First, lay out all your materials. This includes your photos, tickets, maps, and other keepsakes. Organizing everything by location or day will help you see what you have to work with. It makes the next steps much easier.
Step 2: Choose a Theme or Story
Next, decide on a theme. For example, you could organize your scrapbook chronologically, from the first day of your trip to the last. Alternatively, you could create sections based on different cities or activities. A clear theme provides a solid structure.
Step 3: Plan Your Layouts
Before you glue anything down, plan each page. Arrange your photos and mementos on the paper to see what looks best. In addition, think about where you will write your captions or stories. This planning stage prevents mistakes.
Step 4: Assemble Your Pages
Once you are happy with a layout, it’s time to assemble. Carefully glue everything in place using your photo-safe adhesive. Then, write your journal entries. Add details about what you did, saw, or felt. These personal touches bring the page to life.
Choosing the Right Travel Scrapbook Album
The album itself is a key part of your project. After all, it holds all your hard work. There are several types of albums available, so consider which one best fits your needs.
- Ring Binders: These are very flexible. You can easily add, remove, or rearrange pages. They are perfect if you plan to add more to your travel scrapbook over time.
- Post-Bound Albums: These offer a clean, book-like appearance. While you can add pages, it is a bit more difficult than with ring binders. However, they look very professional.
- Book-Bound Albums: These have a fixed number of pages. They are less flexible but offer a classic, high-quality feel. Choose this if you know exactly how many pages you will need.
Ultimately, the best album is one that inspires you. Look for a cover that reflects your travel style and a size that accommodates your vision. Many craft stores and online shops offer fantastic options for your next travel scrapbook project in 2025.